
How to Turn a Blog Post Into a Video With Fliki (Step-by-Step, Tested)
Pasting a blog URL into Fliki turns the article into a scene-by-scene video script automatically, then lets you pick a voice, language, and format before exporting — the whole process takes under 5 minutes and works with posts from WordPress, Medium, Substack, Ghost, Webflow, Squarespace, Wix, and Notion.
That's the short version. Below is exactly what happens at each step, based on a hands-on run through the workflow, plus what to watch out for before you publish the result.
- Time needed: ~5 minutes for a first draft, longer if you fine-tune scenes
- What you need: A Fliki account (free plan works) and a link to a live, publicly accessible blog post
- Output: A narrated video with AI voice, auto-matched visuals, and captions — exportable in 9:16, 1:1, or 16:9
- Best for: Repurposing existing articles into YouTube/TikTok/Shorts content without rewriting a script from scratch
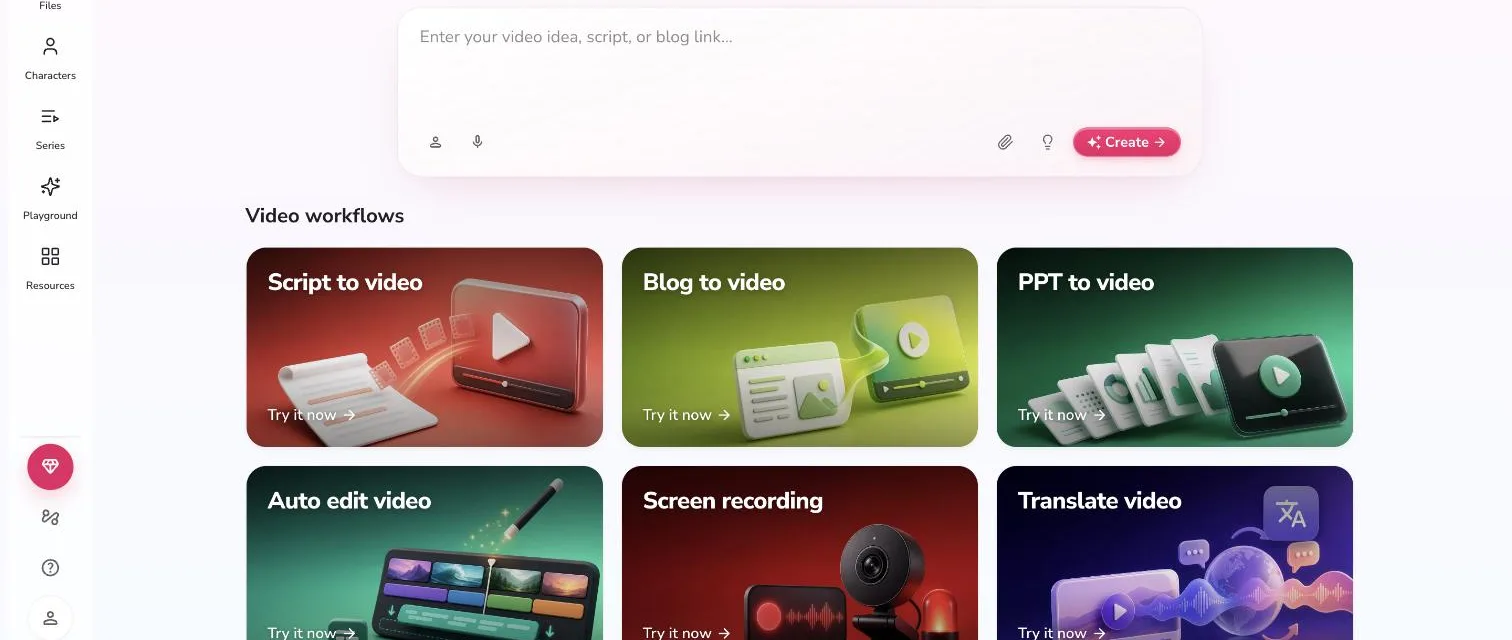
Step 1: Paste your blog URL
From the Fliki dashboard, start a new project and choose the blog/article import option instead of starting from a blank script. Paste the full URL of the post you want to convert. Fliki fetches the page, reads the article body, and ignores site chrome like navigation and sidebars — so it works best on a clean article page rather than a category or homepage URL.
Step 2: Let Fliki rewrite the article as a video script
This is the part that saves the most time. Fliki extracts the article, distills the key points, and rewrites them as scene-based voiceover narration — it doesn't just read your paragraphs verbatim, it condenses them into lines that sound natural spoken aloud, and splits them into individual scenes.
Before generating, you choose a target length: short (~1 minute), medium (2–3 minutes), or full-length, which roughly follows the source article's length. Shorter options force tighter summarization, which is worth trying first if your source post is long — it's faster to trim a script down than to pad one out.
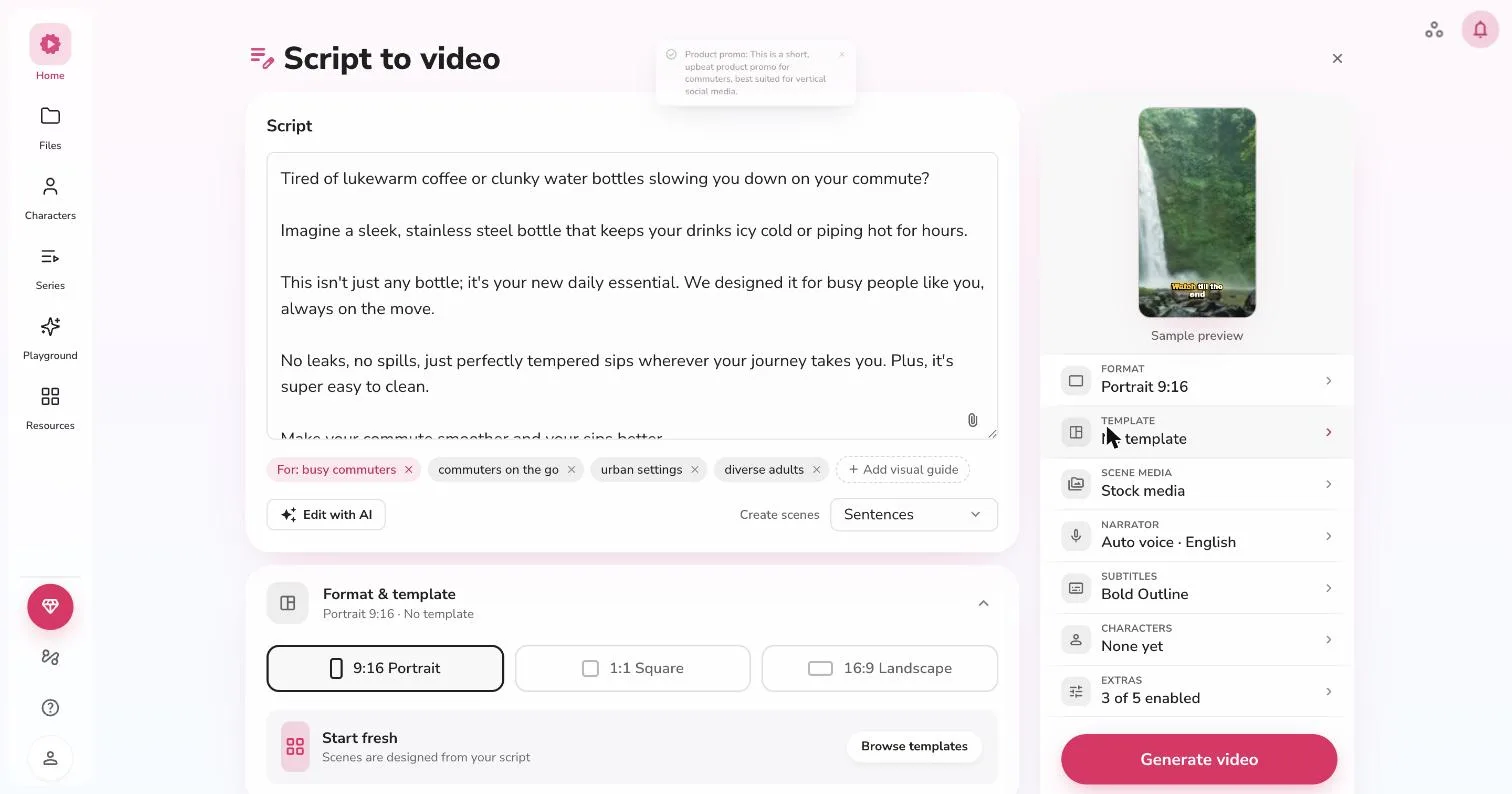
Step 3: Choose voice, language, and pacing
Fliki offers 2,000+ AI voices across 80+ languages and dialects. For a blog-to-video conversion, pick a voice that matches your channel's existing tone (the same voice you'd use for other videos, for consistency), then adjust:
- Pace — slower for tutorial/explainer content, faster for news-style recaps
- Pitch and pauses — useful for emphasizing headings or key stats pulled from the article
- Voice cloning (Premium plans) — clone your own voice so repurposed blog content still sounds like your brand instead of a generic AI narrator
Step 4: Pick your output format
Choose the aspect ratio based on where the video will be published: 9:16 for TikTok/Reels/Shorts, 1:1 for LinkedIn or Facebook feed posts, or 16:9 for YouTube. Fliki can produce more than one version from the same script, which matters if you're repurposing one blog post across several platforms rather than picking just one.
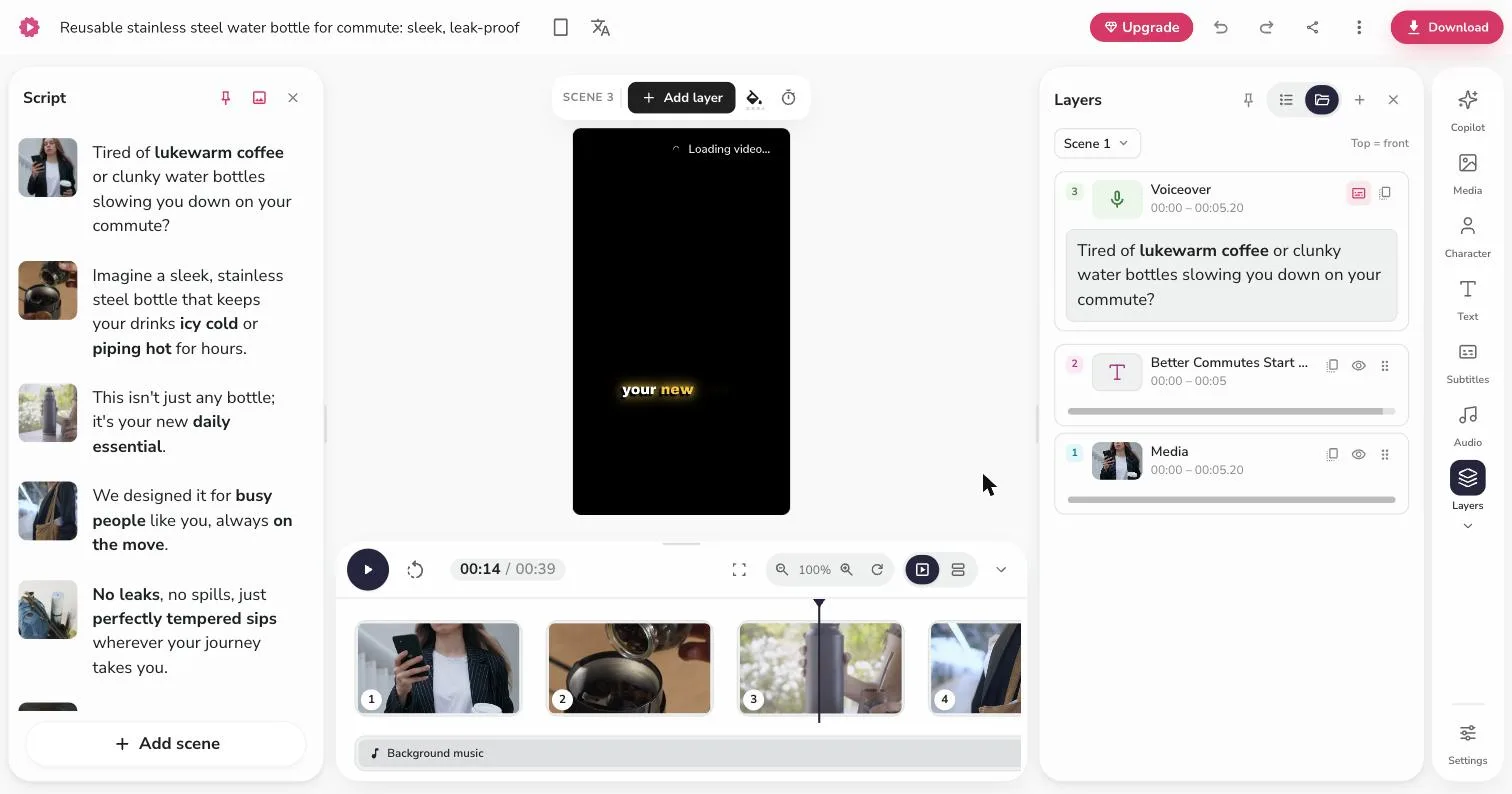
Step 5: Fine-tune scenes in the editor
This is where the automated draft becomes a real edit, not a black-box export. Each scene in the editor is independently adjustable: swap the auto-matched stock footage or image for something more accurate, regenerate an AI image if the match is off, adjust caption timing, or add an AI avatar host if you want a face on screen instead of B-roll only.
Worth checking before export: scenes where Fliki matched generic stock footage to a specific claim in your article (product names, brand references, exact numbers) — these are the spots most likely to need a manual swap.
Step 6: Export and publish
Export adds auto-generated captions (100+ languages) and can apply royalty-free background music with automatic voice ducking, so the music lowers automatically under the narration. From here you can download the file directly or, depending on your plan, publish straight to connected social accounts.
Tips for better results
- Start with your most "listable" articles. Posts already structured around clear points, steps, or a numbered list convert into cleaner scene breaks than dense narrative writing.
- Trim the source article first if it's long. Removing tangents before pasting the URL gives Fliki a tighter set of points to work from, rather than relying on the length setting to compress everything.
- Reuse one voice across a series. If you're converting multiple blog posts, keep the same voice and pacing settings so the videos feel like one channel, not one-off experiments.
- Check numbers and names manually. AI-rewritten narration occasionally paraphrases a statistic or product name — verify anything factual before publishing.
- Don't skip the manual scene review. The auto-generated draft is a strong starting point, not a finished video; budget a few extra minutes to swap any mismatched visuals.
Who this workflow is for
Best fit: bloggers and content marketers repurposing existing written content into short-form video without hiring an editor, course creators turning lesson posts into video recaps, and affiliate/niche sites that want a video version of a review or guide without re-recording anything.
Less of a fit: anyone needing frame-accurate, fully custom video editing — Fliki's blog-to-video is built for speed and volume, not the level of manual control you'd get in a traditional video editor.
Pricing note
Blog-to-video is available starting on Fliki's free plan, with limits on monthly minutes, output resolution, and a watermark on exports. Voice cloning and watermark-free exports require a paid plan — see our full breakdown of what each plan unlocks in our guide on removing the Fliki watermark.
Frequently asked questions
Can I convert any blog URL into a video with Fliki?
Fliki works with public, text-based article URLs from platforms like WordPress, Medium, Substack, Ghost, Webflow, Squarespace, Wix, and Notion. It needs to reach the live page and read the article text, so paywalled, login-gated, or JavaScript-heavy pages may not import cleanly.
Does Fliki copy my article word-for-word into the video?
No. Fliki extracts the article and rewrites it as shorter, scene-based narration meant to be heard rather than read, rather than reading the original text verbatim.
How long does it take to turn a blog post into a video?
A first draft typically takes under 5 minutes from pasting the URL to having an exportable video, though fine-tuning scenes manually adds more time depending on how much you adjust.
What video lengths can I choose?
Short (about 1 minute), medium (2–3 minutes), or full-length, which scales roughly with how long the source article is.
Can I get a vertical video for TikTok and a widescreen version for YouTube from the same blog post?
Yes — Fliki supports 9:16, 1:1, and 16:9 exports, and you can generate more than one format from the same converted script.
Is the blog-to-video feature available on the free plan?
Yes, with free-plan limits: fewer monthly minutes, lower resolution, and a watermark on exports. Removing the watermark and unlocking higher limits requires a paid plan.
Does the video include captions automatically?
Yes, auto-generated captions are added on export, available in 100+ languages.
Can I use my own voice instead of a stock AI voice?
Yes, on plans that include voice cloning — useful for keeping repurposed blog content consistent with your other video content.
The verdict
Fliki's blog-to-video feature is one of the fastest ways to turn an existing article into a publishable short-form video, and the scene-based rewrite — rather than a literal text-to-speech read-through — is what makes the output usable instead of robotic. It's not a replacement for hands-on editing if you need precise control, but for repurposing a backlog of blog content into video at volume, it's built for exactly that job.
Related guides
This article contains affiliate links. We may earn a commission if you purchase through them.